I’m always looking for fun new home decor for our house. Recently, I found this fabulous preserved boxwood topiary in a ginger jar. I fell in love with it, but the price was way out of my budget. After dreaming about it for several days, I decided to try to make one myself. I was able to find the exact ginger jar they used and the same sized preserved boxwood topiary. It was actually very simple to put together and it looks almost exactly like the one that was way out of my budget! I was able to make it for less than half the price! It’s still not an inexpensive project, but you could make it for less if you used a smaller topiary and a less expensive jar. The one I originally saw cost $500, the ones I made cost $200.
In case you would like to make one for your home, here is my simple tutorial on how to make a preserved boxwood ginger jar topiary! I hope you love it!
This post contains affiliate links for your convenience. Read my disclosure policy here.
Preserved Boxwood Ginger Jar Topiary Tutorial
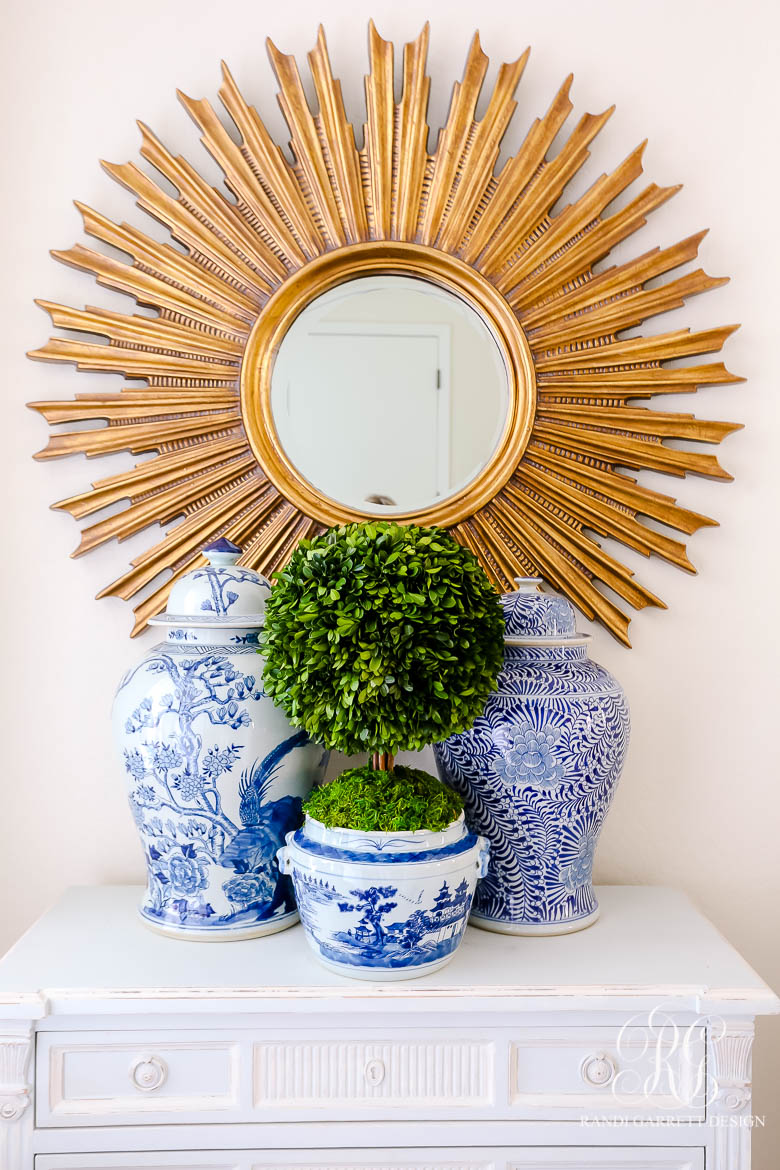
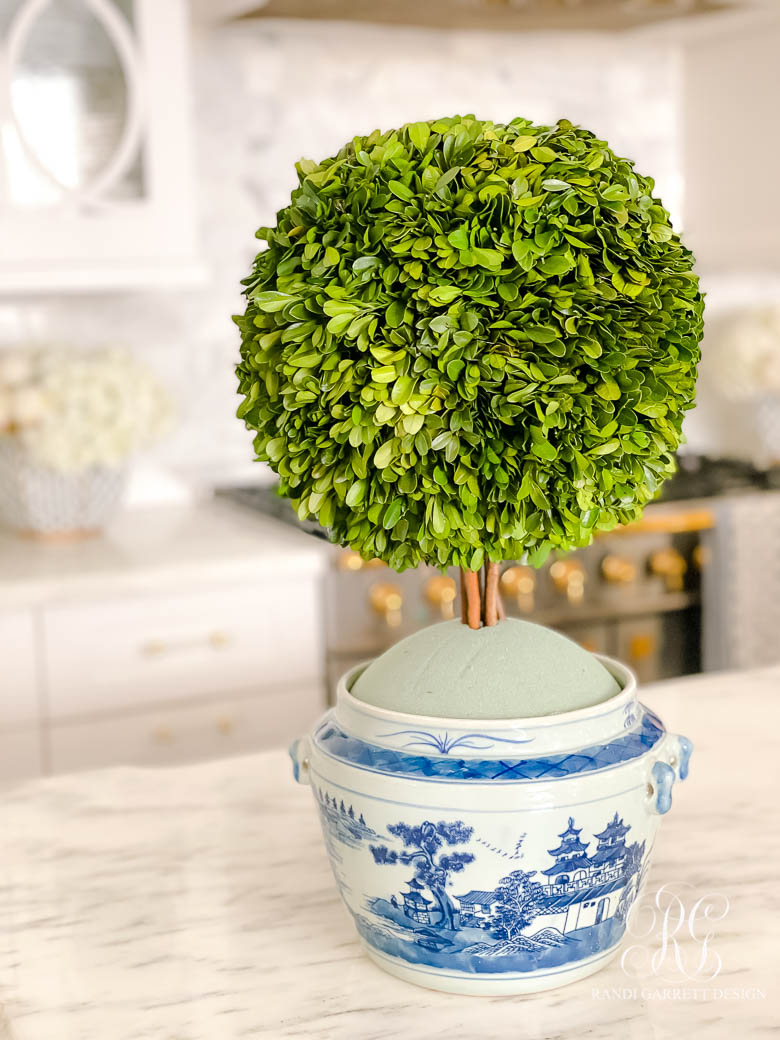
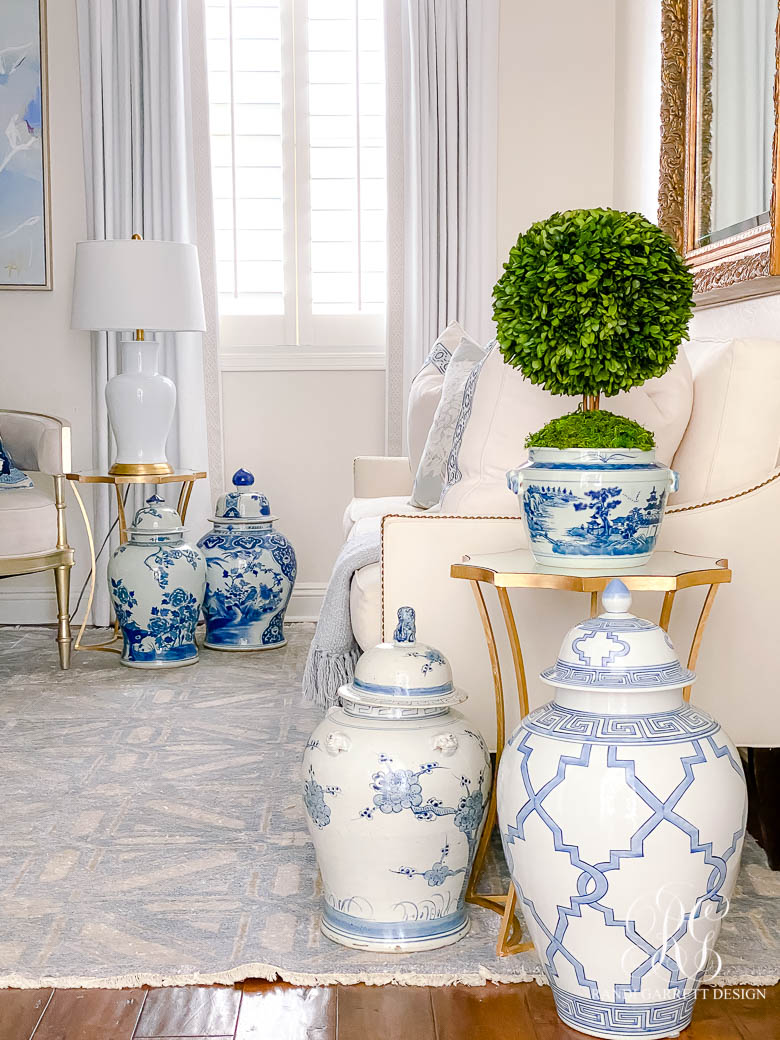
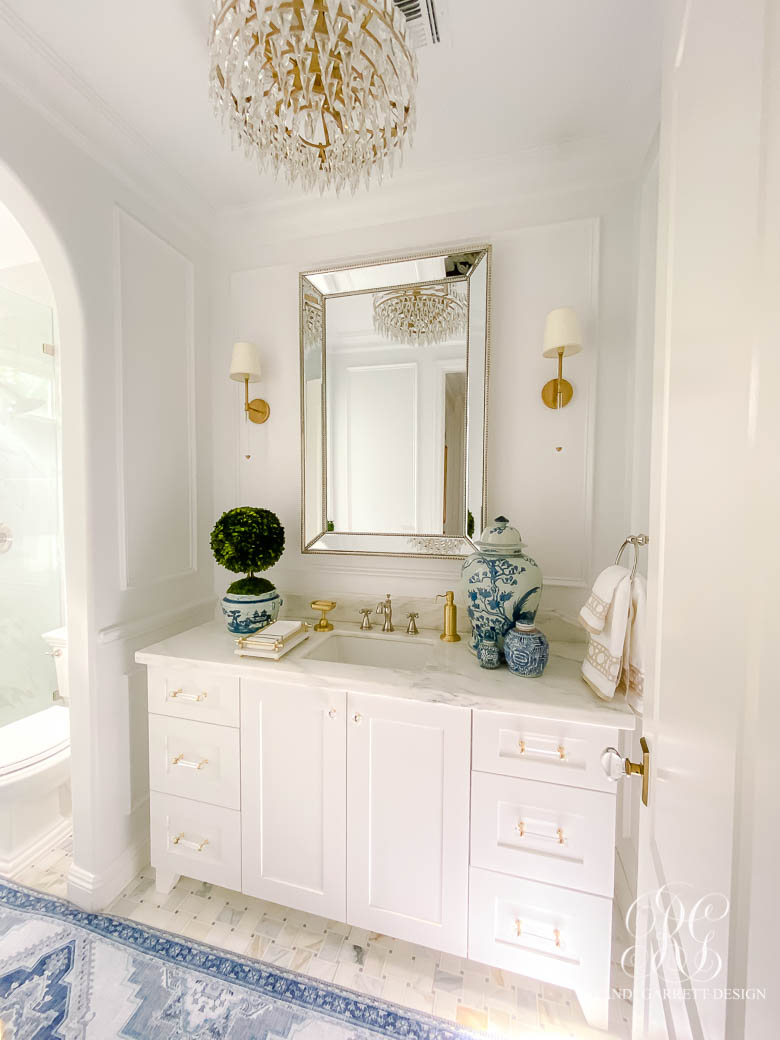
Here is a look at the one I made! Here is what you will need to make one…
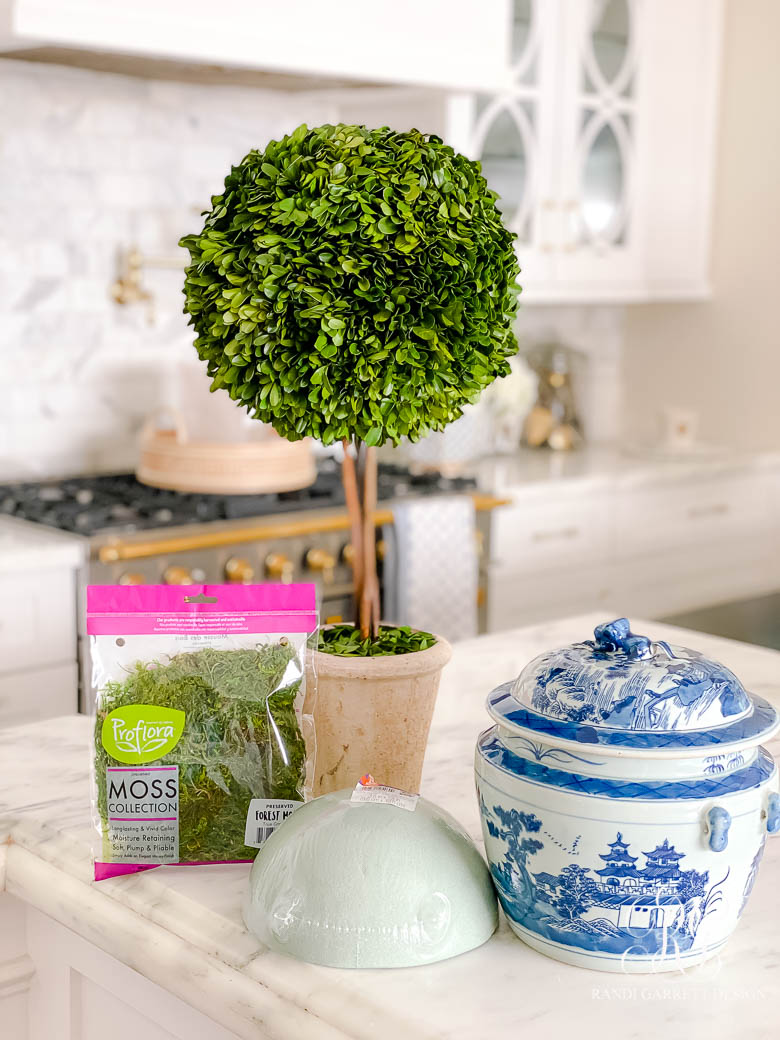
Supplies
23″ Preserved Boxwood Topiary – this is the exact topiary I used.
Ginger Jar – or rice jar they are sometimes called. This is the exact one I used. This blue and white jar would also work well.
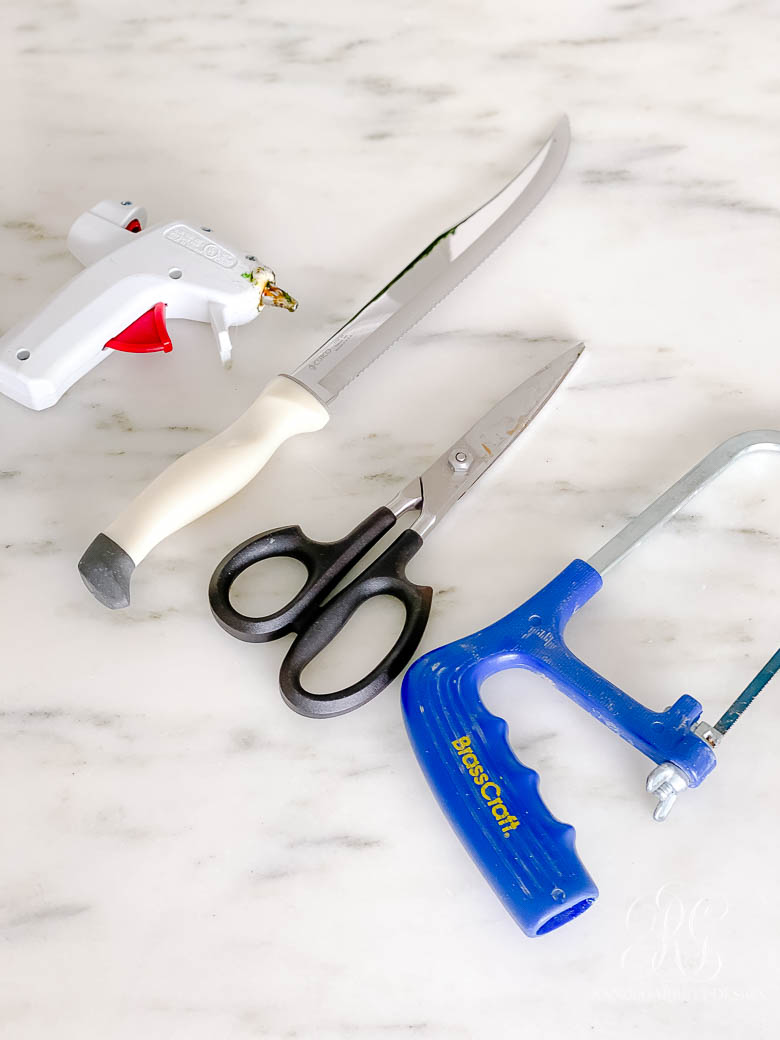
Glue Gun and glue sticks
Scissors
Knife
Steps
- Remove the boxwood topiary from the pot. I just wiggled mine and had someone hold the pot still until it popped out.
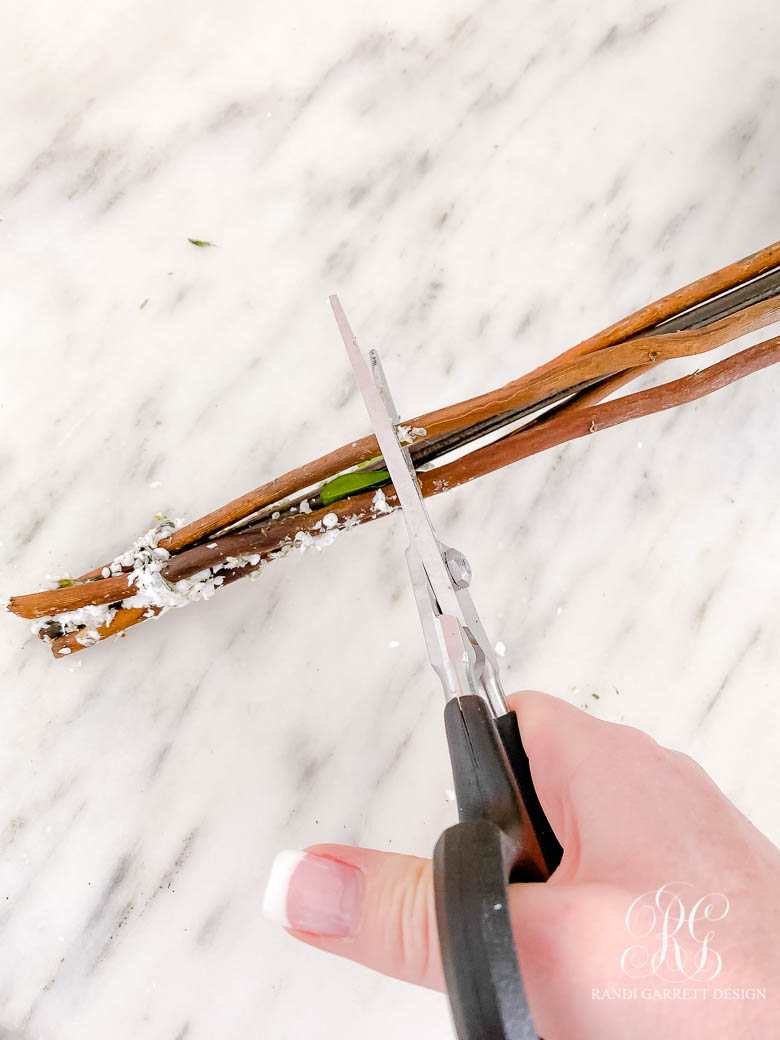
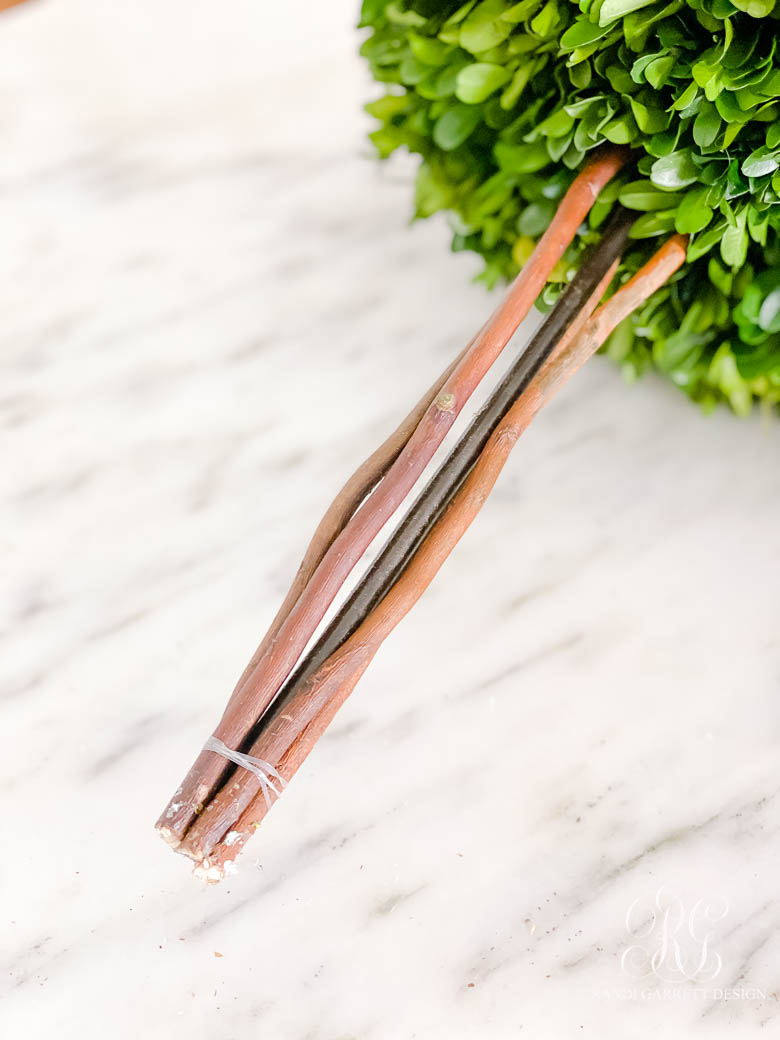
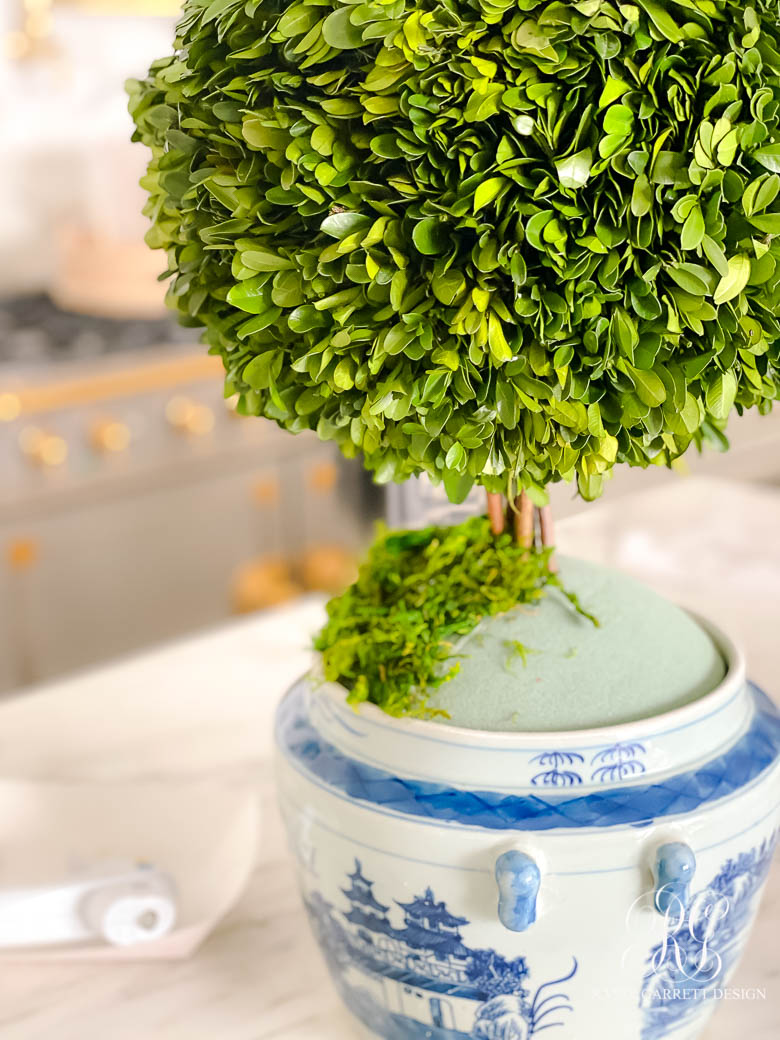
- Cut the stem to the desired height. I wanted mine to barely stick out of the ginger jar. You can use scissors to cut the sticks, then use the hack saw to cut the metal rod in the center the topiary.
- Then wrap a rubber band around the stems to hold them in place.
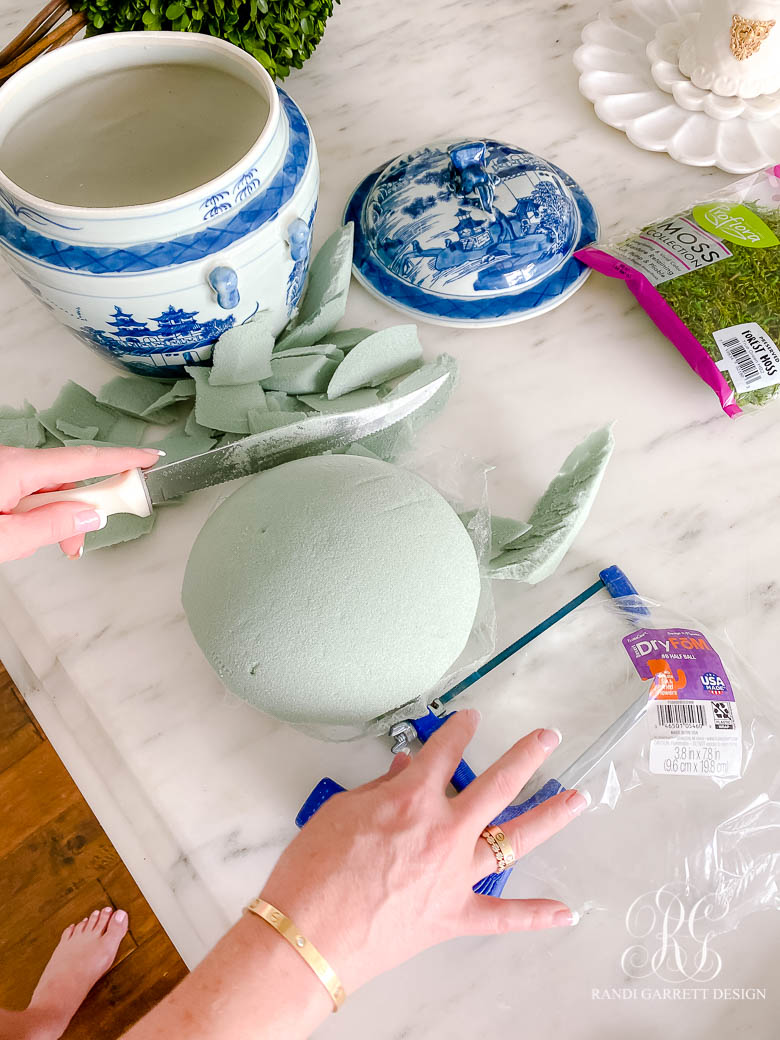
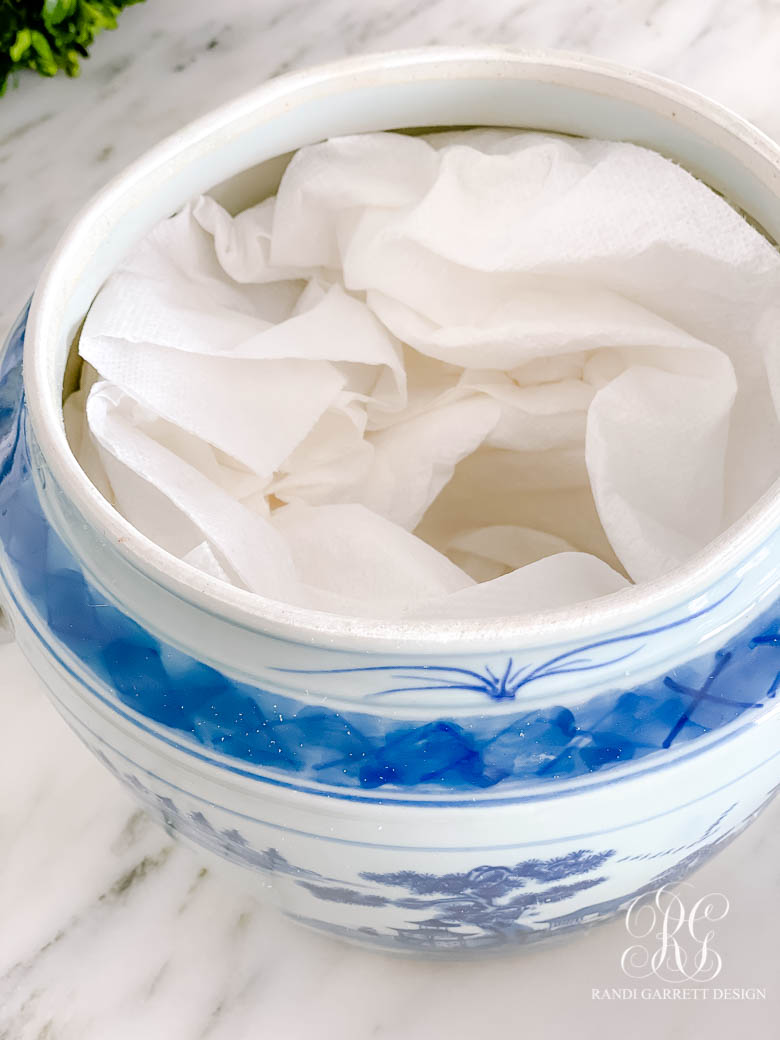
- Trim the foam with a knife to fit your jar. If you cut it too small, like I did, fill your jar with paper towels to hold it in place.
- Push the stem through the center of the foam.
- Place foam and topiary into the jar.
- Using your glue gun, glue the moss around the foam to hide it.
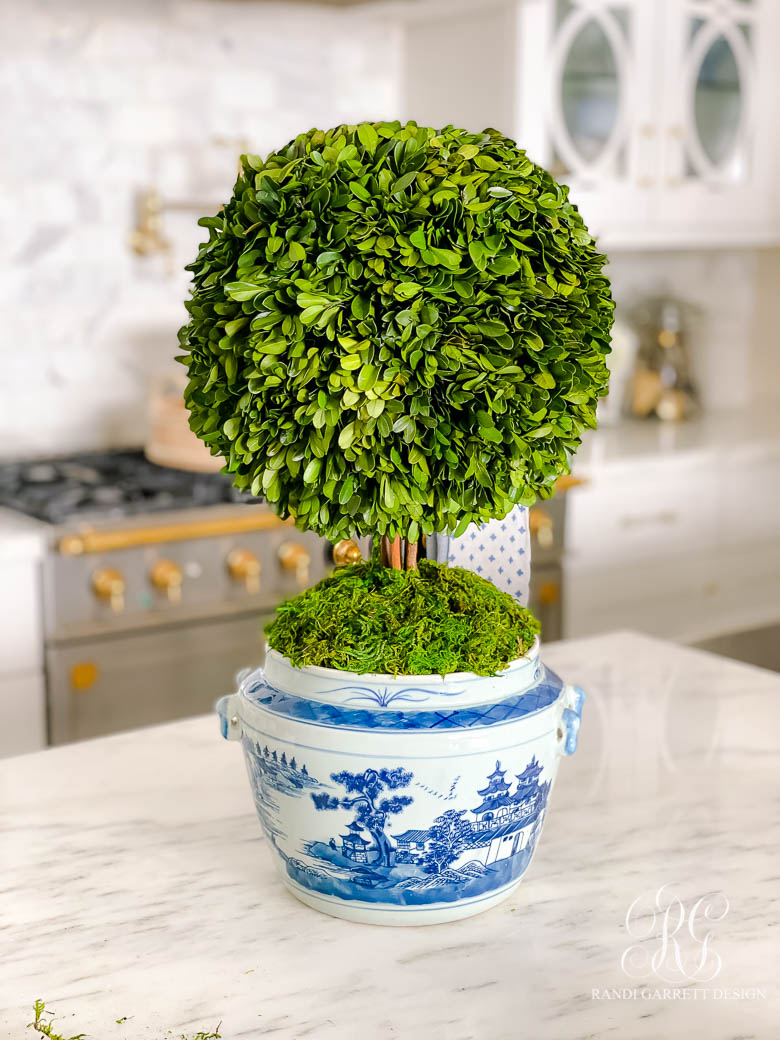
Now to decide where to put it! I think I may need to make a few more! Haha! Where would you put it?
I hope you try making one! 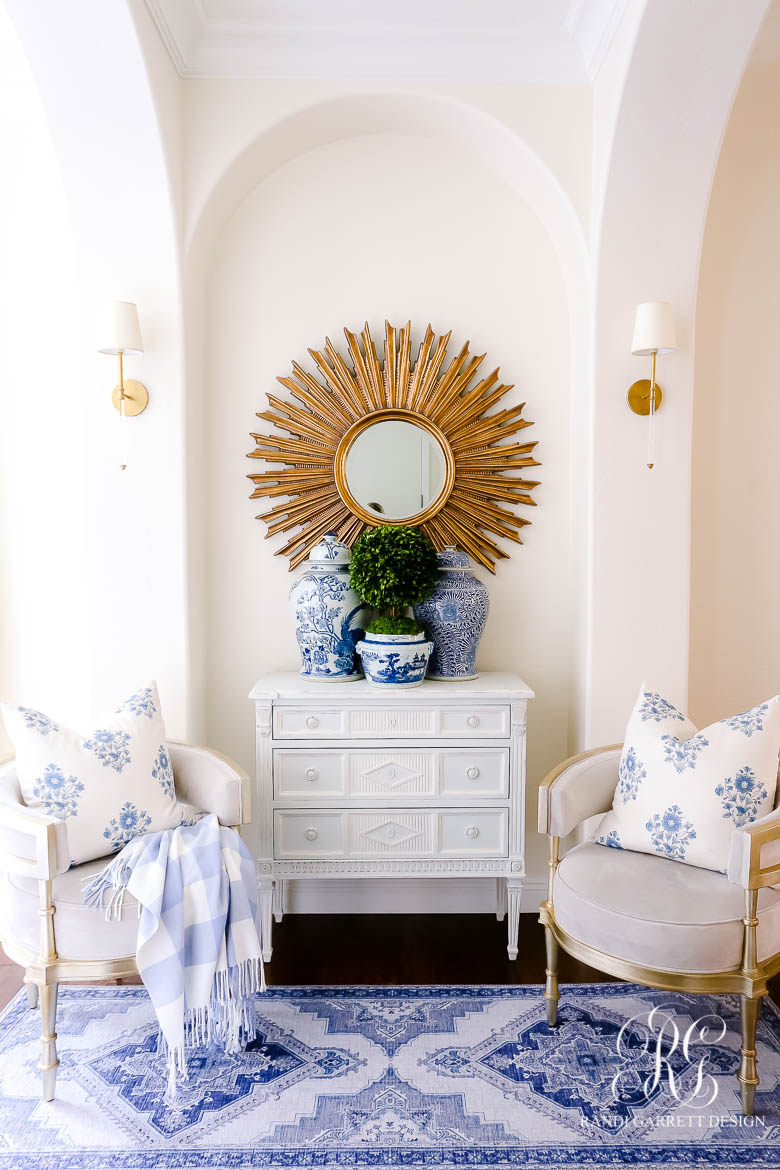

Blue Runner | Club Chair | Blue Buffalo Checked Throw |Blue and White Throw Pillow | Chest | Ginger Jar | Blue Ginger Jar | Sunburst Mirror | Sconce


Hi Randy,
Love your house. Question: where did you buy the ginger jars? the pale blue ones…
You are so talented and creative!❤️💯
I must try this. Thank you for sharing.